Today I’m back on the blog sharing a DIY on my latest favorite thing, cacti!! Ever since spring break in Palm Springs, I have been obsessed!! You can definitely find many cacti all over my Pinterest and this is actually where the idea for this DIY came from.


This is the image I saw on Pinterest that I decided to mimic, using my Cricut. This is a garland that you can purchase on Esty here. This garland is different than mine in that 1) it is sparkly, 2) has flowers, 3) and is much longer. I also strung mine on the string with tape, not through holes. I decided to make this garland spur of the moment, so everything I used I already owned. The sparkly paper is adorable and I am considering purchasing sparkly paper to do it over!!
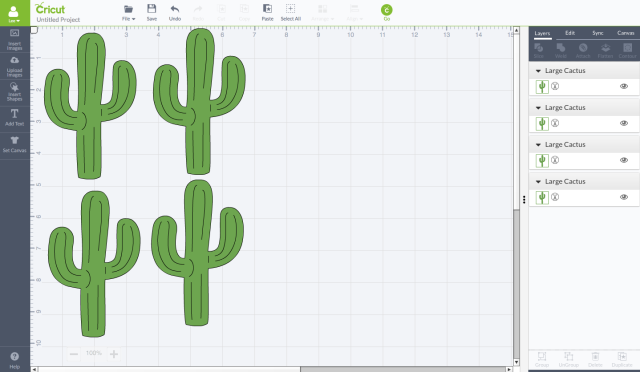
First, I added 4 cacti to the design space. The cacti are about 3 inches wide and 5 inches long. This was a really good size, and if I made a longer garland I would probably use the dimensions. I sent this to the mat and cut it on green paper.

After cutting the cacti, I cleared the design space and added an “S” in the free font Silom. The “S” was the same size as the cacti. Then I sent this to the mat and cut it on pink paper.
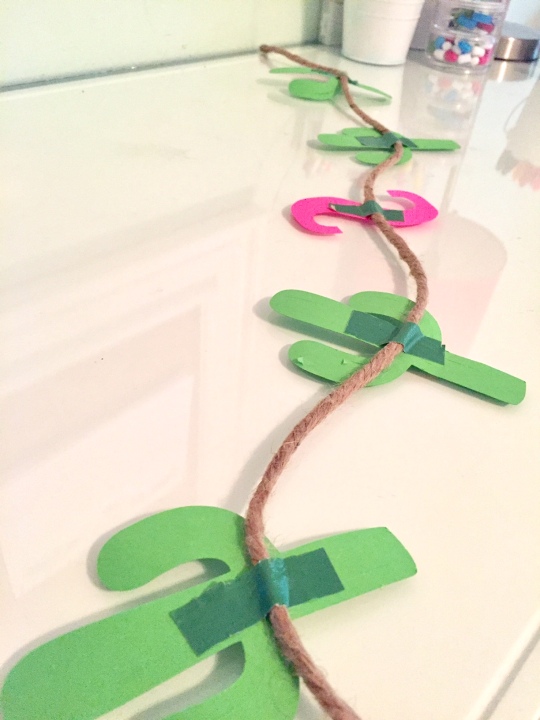
To attach the cutouts to the twine, I used duct tape.
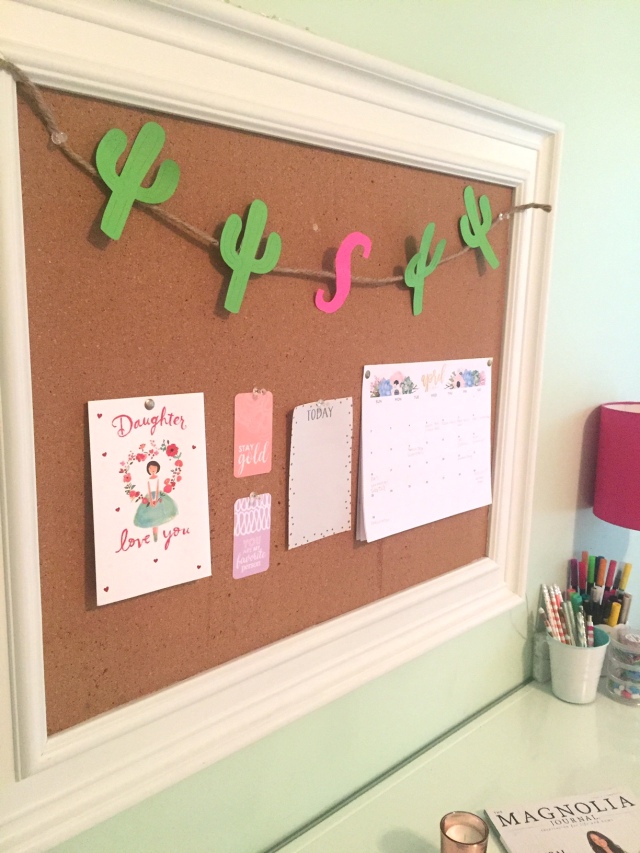
Here’s the final look!


xoxo, sarah

